30-Second Summary
- The Core Problem: Creating a realistic conversation with AI has traditionally been a nightmare. You write a script in one tool, generate voices in another, and painstakingly edit them together in a third, often with clunky, unnatural results.
- The Solution: A unified dialogue creation environment, like NotebookLM from Google or Kukarella's DialoguesAI, integrates scriptwriting, casting, directing, and audio production into a single, streamlined workflow.
- The Advanced Technique: True realism comes from directing your AI actors. This guide will show you how to go beyond basic text entry to control pacing, apply emotional styles, and export separate audio tracks for professional post-production.
1. The Nightmare of the Cobbled-Together Conversation
For any creator who has tried to produce a multi-speaker audio track, the traditional workflow is one of pure frustration. It looks something like this:
- Write: You draft your script in Google Docs or Word.
- Generate Voice A: You copy the first character's lines, paste them into a standard TTS tool, choose a voice, and download the MP3.
- Generate Voice B: You repeat the process for the second character, trying to find a voice that sounds complementary.
- Edit and Sync: You import both audio files into an editor like Audacity or Adobe Audition and begin the painstaking process of cutting, pasting, and timing each line to simulate a conversation.
The result is almost always a failure. The pacing is off, the voices don't sound like they're in the same room, and the final product feels disjointed and artificial. This process is a workflow killer and, ultimately, a creativity killer.
2. The Modern Solution: The Unified Dialogue Environment
The new generation of AI tools solves this by treating dialogue as a unique format with its own specific needs. A dedicated AI dialogue generator doesn't just convert text to speech; it provides an integrated studio for writing, casting, directing, and producing an entire conversation within a single interface.
This is where a tool like Kukarella's DialoguesAI excels. It's designed from the ground up to understand the relationship between different speakers, making the creation of natural-sounding conversations not just possible, but simple.
The Advanced Dialogue Workflow: A 4-Phase Guide
This is the professional workflow for moving from a simple idea to a fully produced, multi-speaker audio scene.
Phase 1: The Script (The Foundation)
Before you can have a conversation, you need a script. But you don't have to start with a blank page.
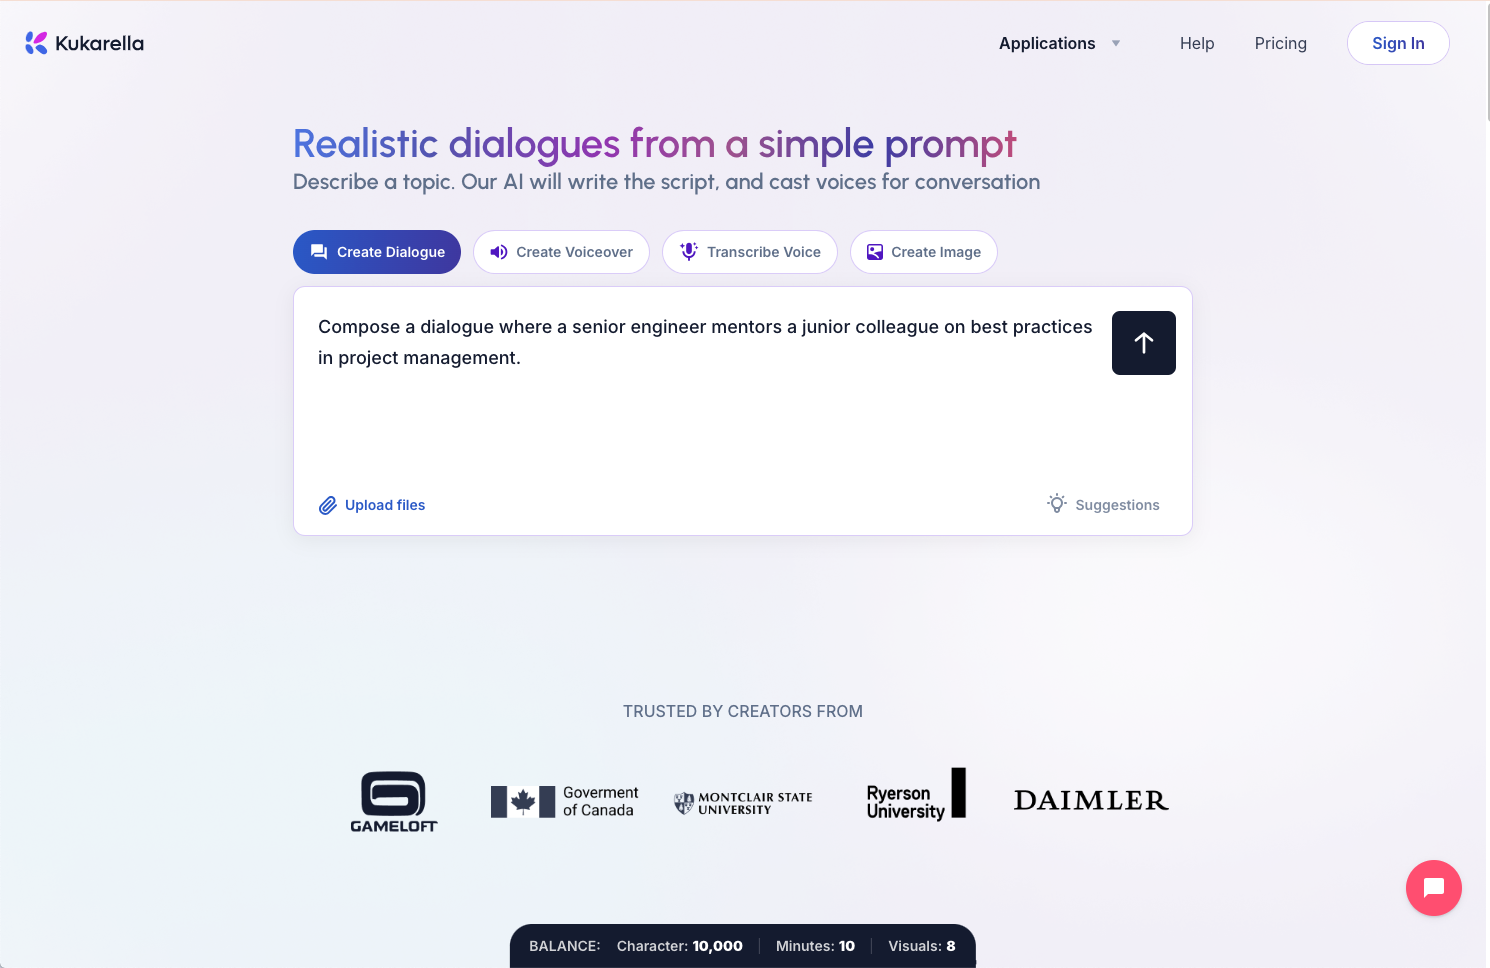
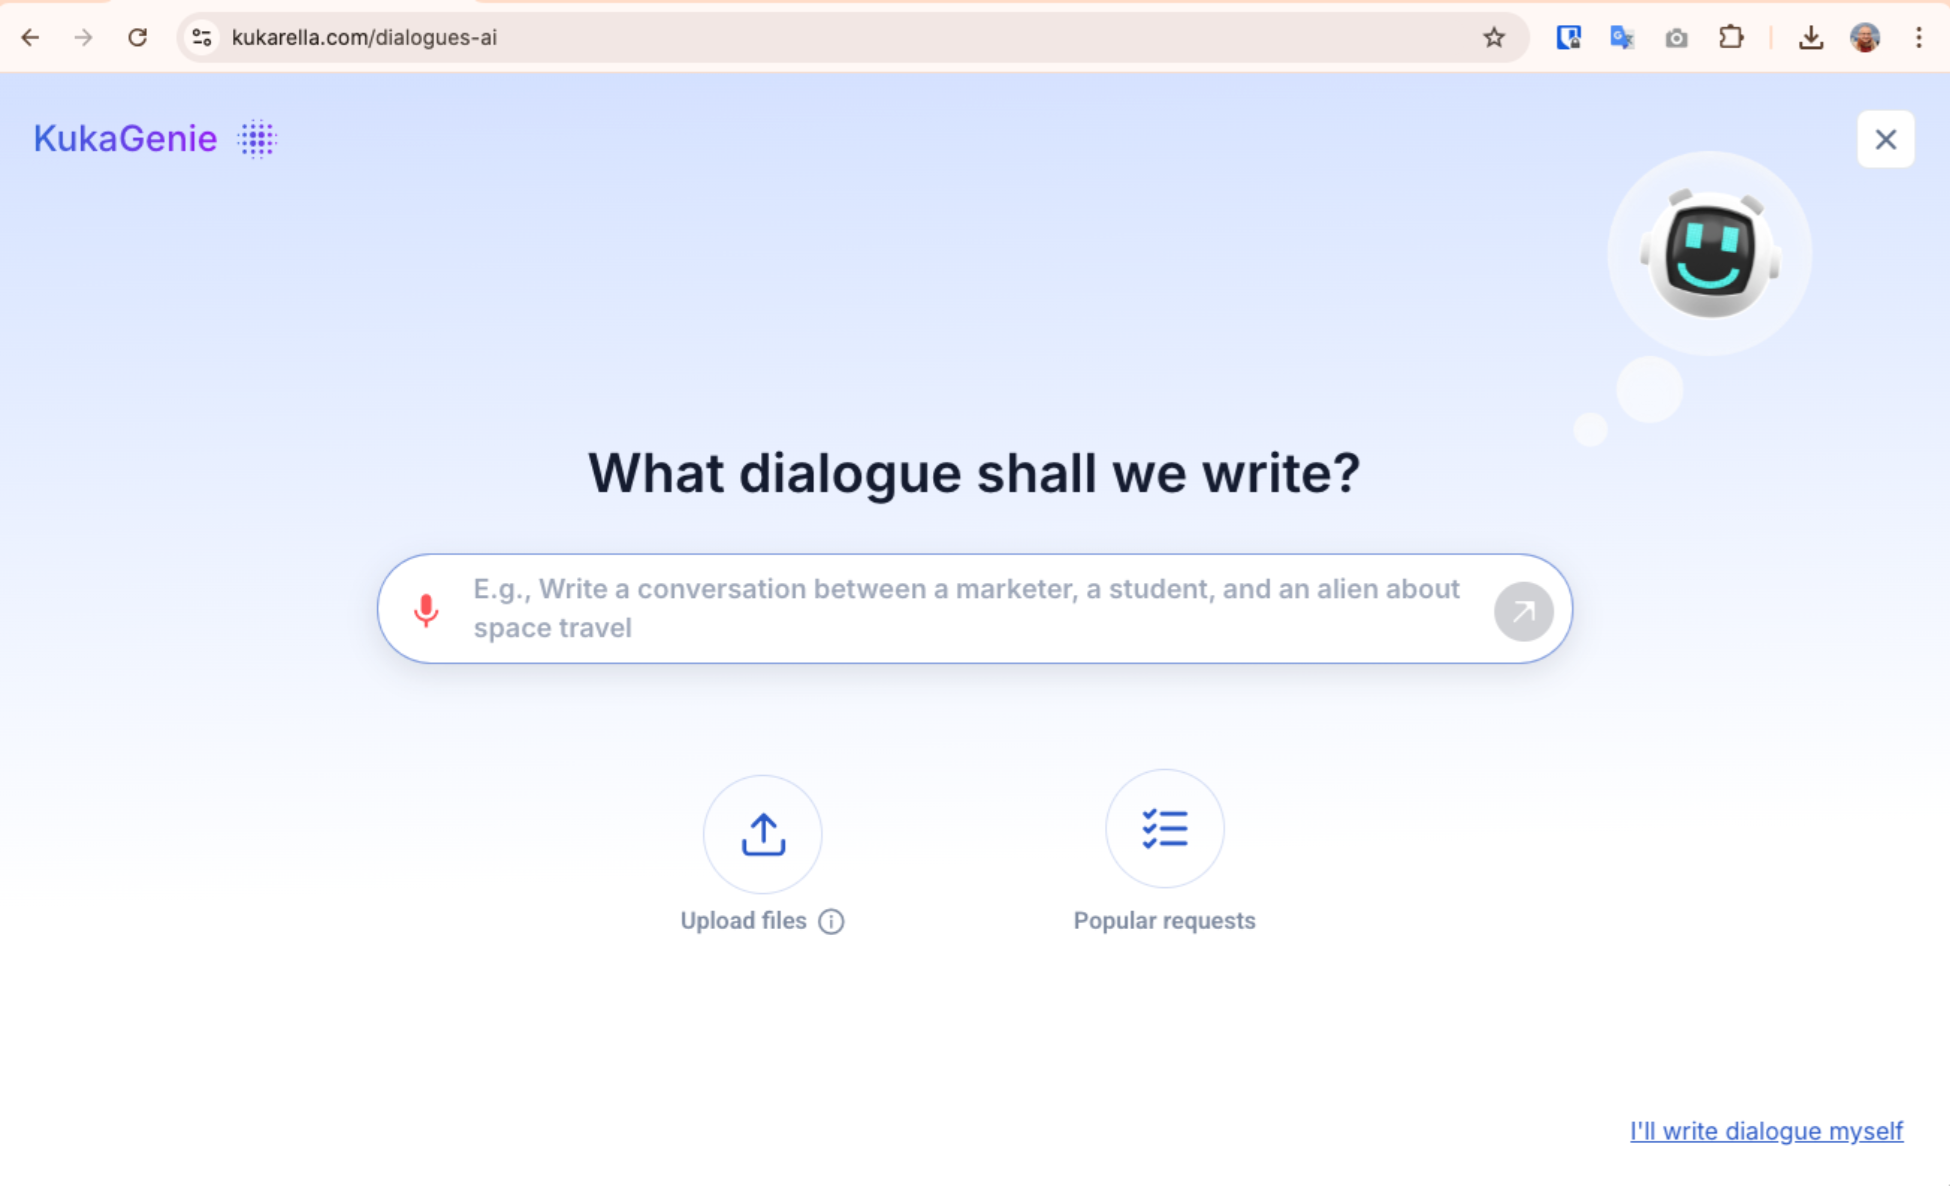
- AI-Assisted Scriptwriting: The most powerful way to begin is by using an integrated AI Assistant. Instead of writing from scratch, you provide a high-level prompt.
- Prompt Example: "Create a tense negotiation between a detective and a reluctant witness at a coffee shop."
- The AI won't just generate a Q&A; it will create a dynamic conversation where the characters have distinct goals and personalities, complete with natural phrasing optimized for being spoken aloud. You can also upload reference articles or select from proven templates for business or education.
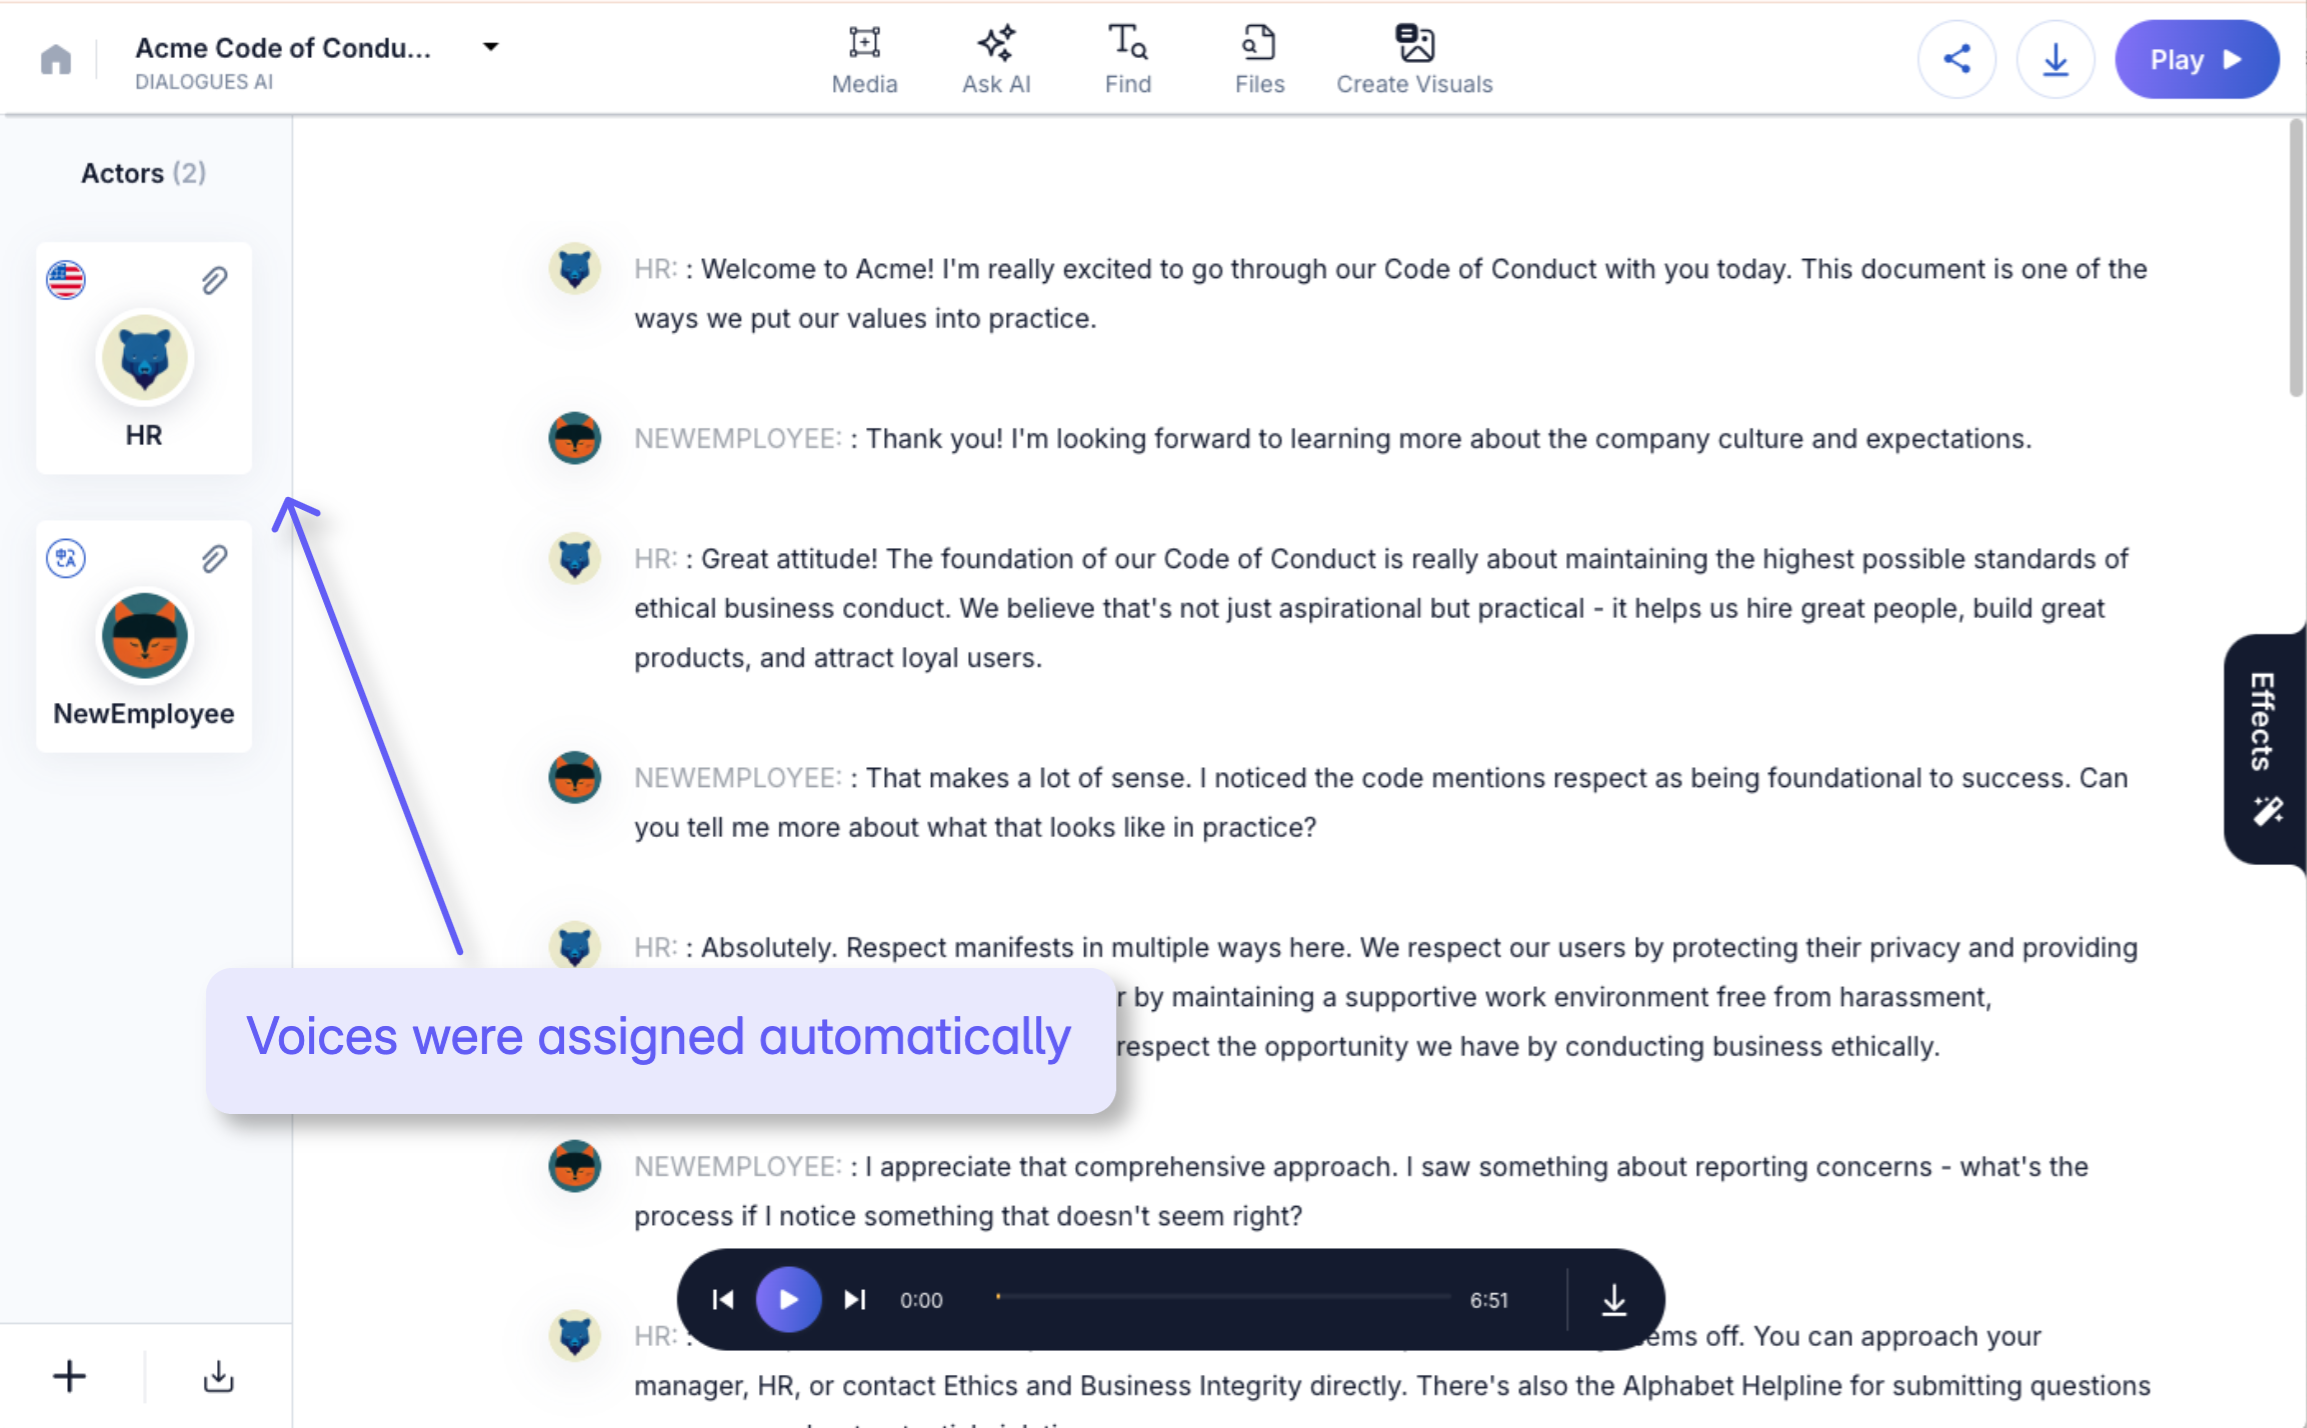
- Automatic Casting: The best part of this process is that the AI automatically assigns distinct voices to each character it creates, giving you an instant first draft of the audio scene.
Phase 2: The Casting (Finding Your Voices)
Now you move from writer to casting director. This is about more than just picking voices; it's about choosing voices that complement and contrast each other to create drama and interest.
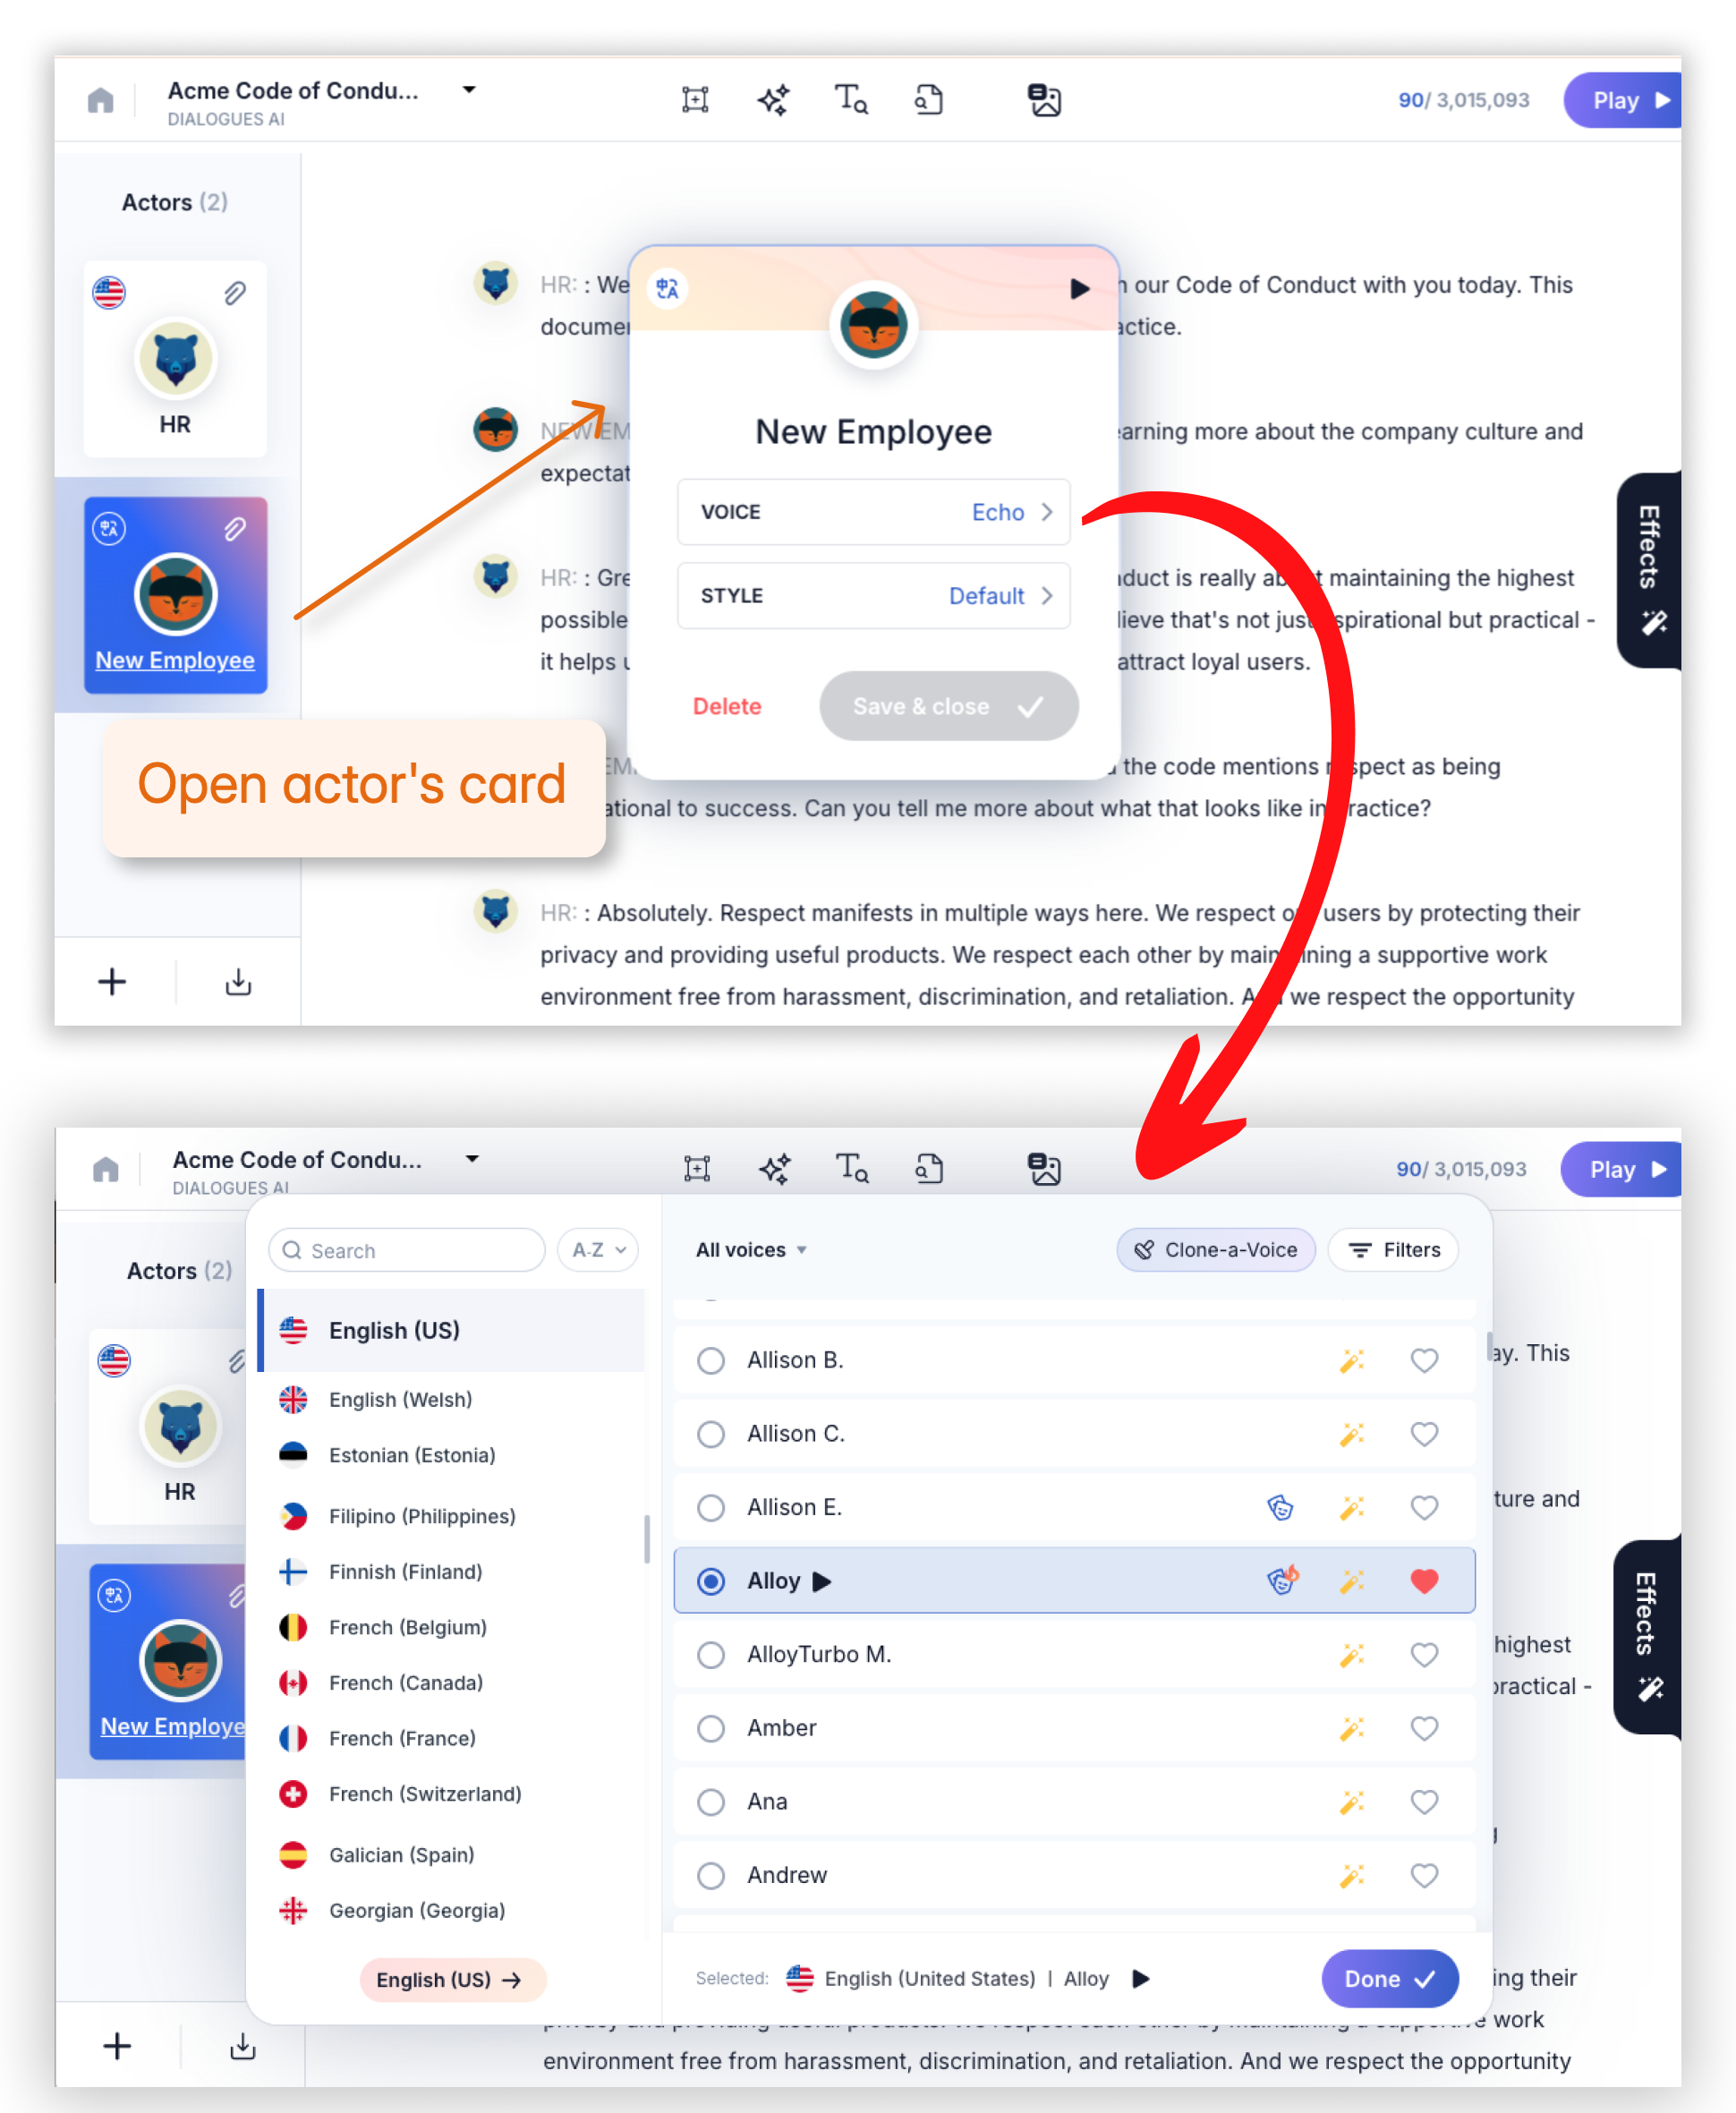
- Creating Actors: In the DialoguesAI interface, each speaker is an "Actor." Click on an actor card to modify them.
- The Art of Pairing:
- For Harmony: Choose voices from the same "voice family" (e.g., two Microsoft-powered voices) to ensure they sound like they are in the same acoustic space.
- For Conflict: Create contrast. Cast a voice with a deep, slow, measured tone against a character with a high-pitched, fast-paced delivery.
- For Authenticity: Assign different regional accents. A conversation between a character with a British English accent and another with an American English accent instantly adds a layer of depth and realism.
Phase 3: The Direction (Controlling the Performance)
This is the step that truly separates professional-sounding dialogues from amateur ones. You must direct your AI actors' performances.
- Pacing and Timing: The rhythm of a conversation is everything.
- Use Punctuation: A simple ellipsis (...) can create a dramatic pause before a revelation.
- Shorten Sentences: Break up long, complex sentences to create a faster, more natural back-and-forth rhythm.
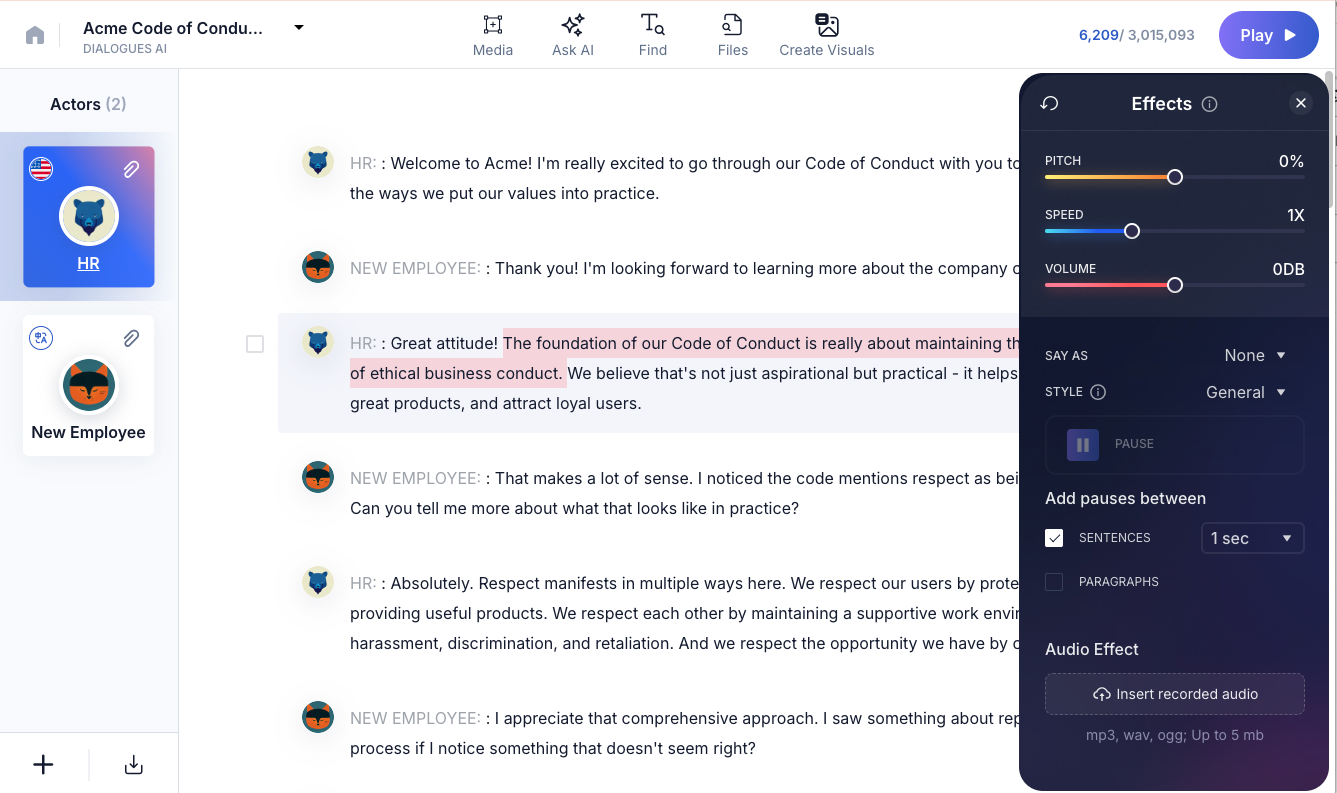
- Apply Effects: Select effects from the effects panel to make conversation more realistic.
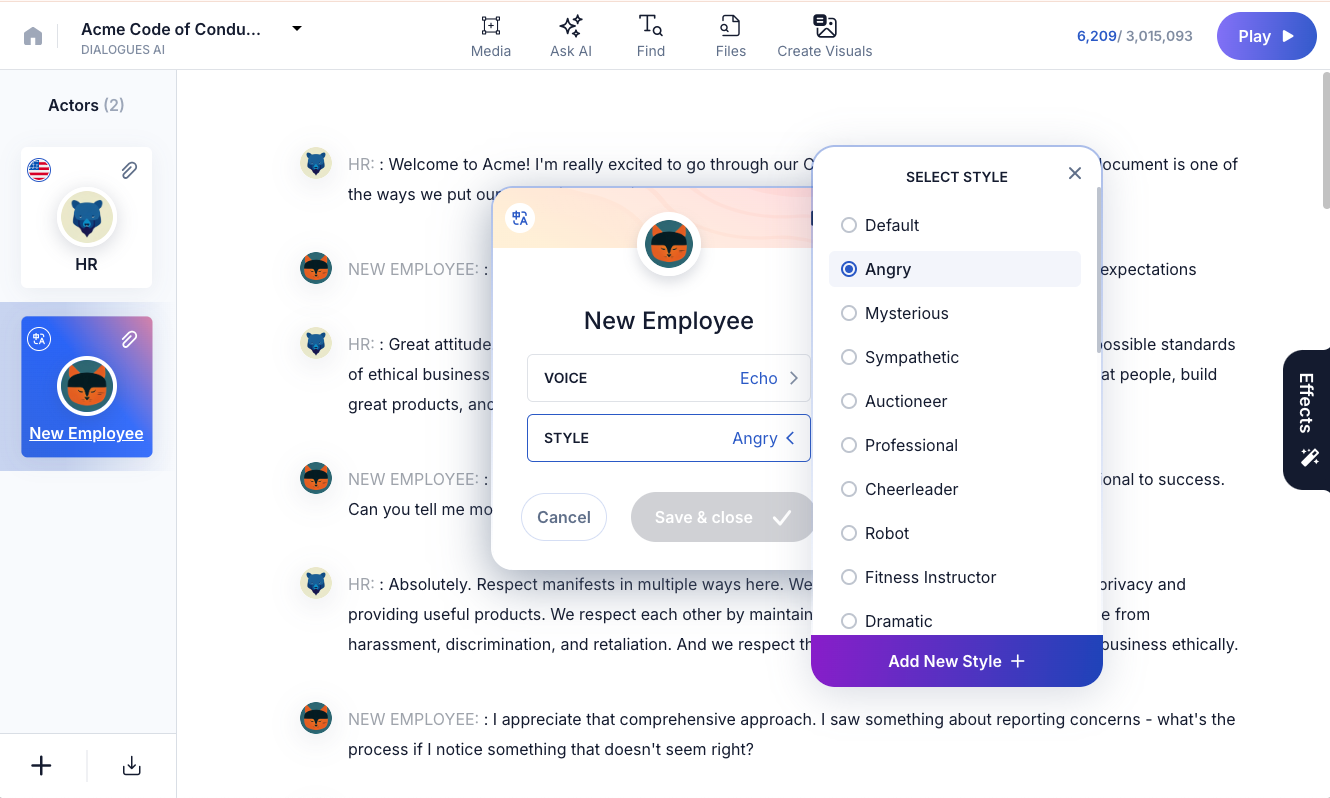
- Emotional Delivery: Real conversations have emotional arcs. Use Voice Styles to direct the performance. You can assign an "Angry" style to one actor during a point of conflict, and a "Cheerful" or "Friendly" style to another. You can even change an actor's style mid-dialogue to reflect a shift in mood.
- Preview and Adjust: You can modify an actor's voice or style at any time, and the change will apply to all lines assigned to that actor. Use the play button to listen to how the voices interact and fine-tune until the pacing and emotional dynamic feel right.
Phase 4: The Production (Exporting for Post-Production)
How you export your final audio depends on how you plan to use it. This is another area where a professional tool provides critical flexibility.
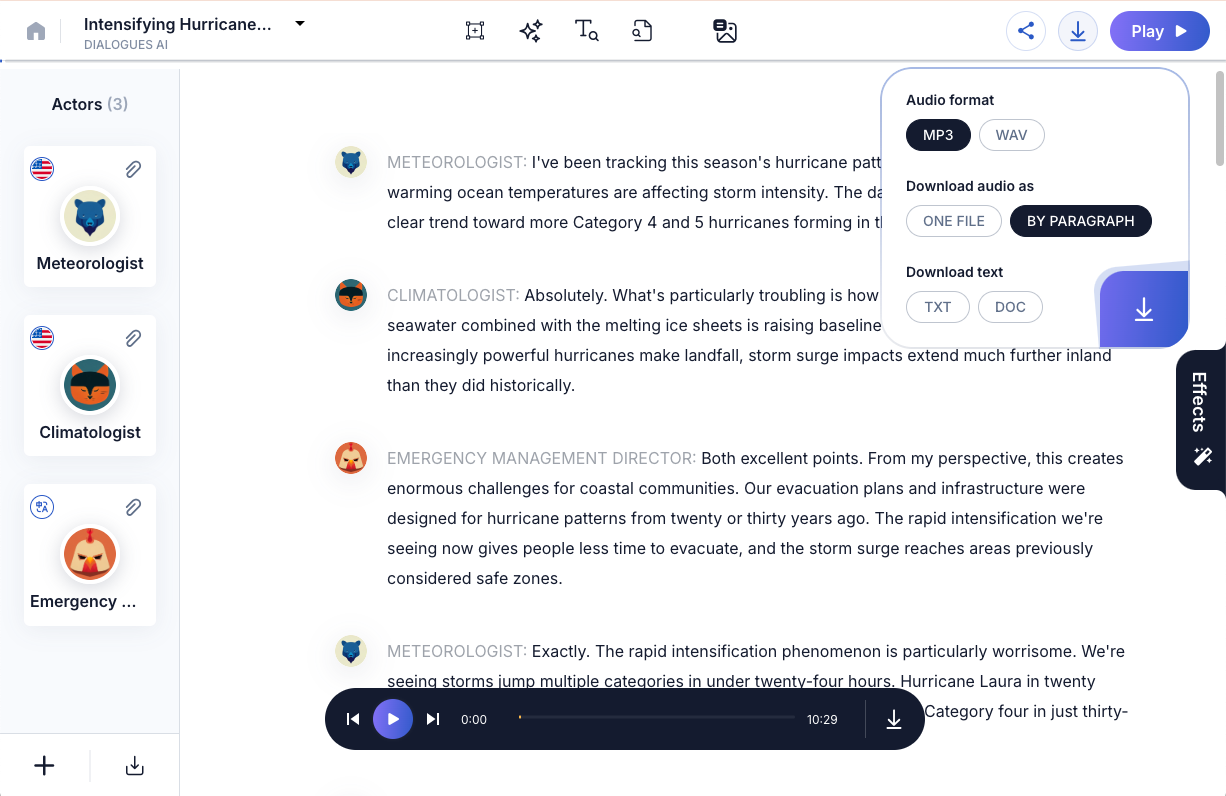
- Option 1: Single File Download (MP3/WAV):
- Best For: Podcasts, audiobooks, and any content that plays straight through without complex video editing. This gives you one complete audio file of the entire conversation.
- Option 2: Paragraph-by-Paragraph Download:
- Best For: Video editing, animation, and e-learning modules.
- This is a crucial power-user feature. It exports a ZIP folder containing a separate audio file for each individual line of dialogue. For a video editor, this is a lifesaver. It allows them to place each line precisely on a timeline, sync it perfectly with on-screen actions, and fine-tune the timing between speakers down to the millisecond.
Beyond Audio: Adding Visuals with Scene Creator
To further streamline the creative process, you can create supporting visuals directly within your dialogue project.
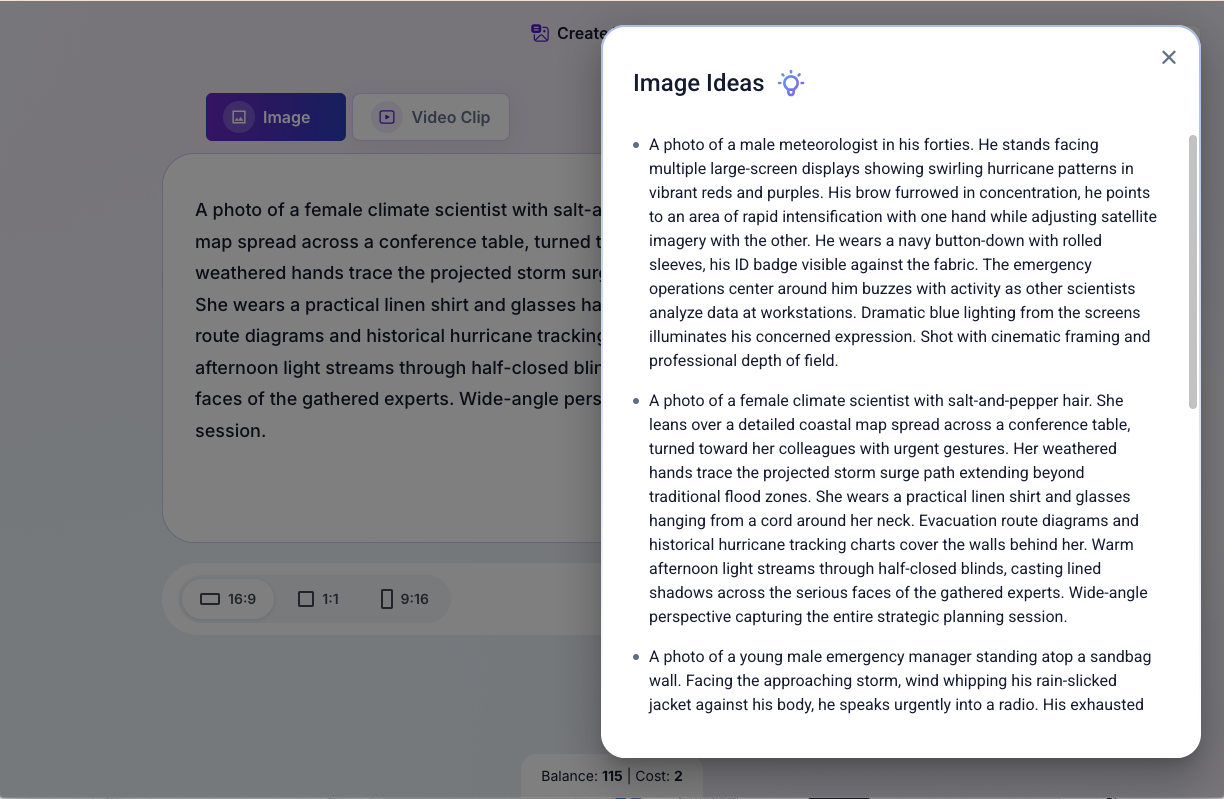
- How It Works: While in your dialogue, click on Create Visuals. You can write your own image description (e.g., "A detective and a nervous witness sitting at a dimly lit coffee shop booth") or use AI-generated suggestions based on your script.
- From Image to Video: Once an image is generated, you can convert it into a 10-second animated video clip, providing a simple way to create a visual storyboard or animated scene that perfectly matches your audio.

Your First Project: A 5-Minute Dialogue
- Open DialoguesAI and choose "Use Assistant."
- Prompt the AI: Type "Create a short, friendly dialogue where a customer asks a barista for a coffee recommendation."
- Watch the Magic: The AI will generate the script and automatically assign two different voices.
- Recast One Actor: Click on the customer's actor card and browse for a different voice.
- Direct the Emotion: Click on the barista's actor card and apply the "Friendly" voice style.
- Generate and Listen: Click the play button to hear your directed, multi-speaker scene.
In under five minutes, you have gone from a simple idea to a fully realized audio conversation—a task that once required hours of frustrating, manual work.